Pom-Pom Pixies are fun & easy to make, and a big hit with children (and adults) of all ages! They make great kids craft projects, hobbies, gifts, and last minute stocking stuffers!
In this article, I will go over the basic “how-to’s” & materials that I used for the example pictured below. But get creative & experiment with different materials like pine cones for body & head, twigs for limbs, add feathers, sea shells, etc. Felt is also great for things like capes or more detailed costume & prop elements.

It’s easy! Here’s the “how-to”…
All you need are the following items:

1.) ASSORTED POM-POMS
These are what I use for the Pom-Pom Pixie’s heads, noses, cheeks, arms, legs, bellies, tails, bodies, etc., so the wider variety of sizes & colors the better!!
These are great for making all kinds of little creatures. Use your imagination & create your own menagerie of pom-pom characters!
2.) GOOGLY EYES
Here again, the wider variety of sizes, shapes & styles the better. That way you are sure to find just the right eyes & expression to suit your creation!
A great way to bring your Pom-Pom Pixie characters to life!

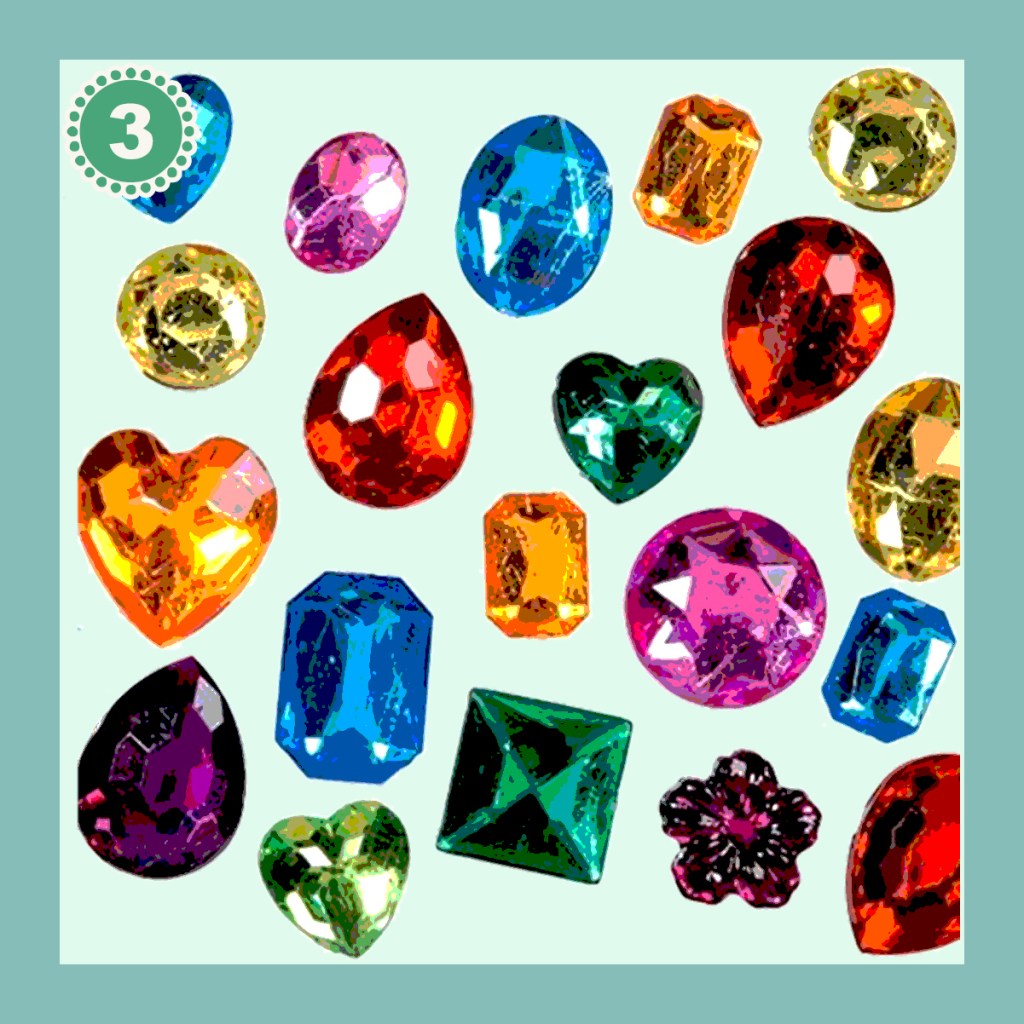
3.) ASSORTED PLASTIC GEMS
These are a common find at any craft supply shop, in big “assorted gems mix” bags, with a great selection of colors, shapes & sizes.
I use these for a wide range of things, from ears, noses, bellies, hats, shells, robot armor, shields, and more!
In this project, I use the larger hearts for feet, & the smaller hearts for hands.
4.) TEA CUP & SAUCER
I found this cup & saucer at a used thrift shop. Be sure to glue the cup securely to the saucer.
Because the smaller Pom-Pom Pixies (shown above, in the cup) are so small, I 1.) used a larger sized pom-pom as filler on the bottom of the cup, 2.) glued googly eyes to a bunch of small pom-poms, then 3.) glued the new little pixies to the top of the larger pom-pom, so that they are able to peek out of the cup, and also look like the rest of the cup is filled with them.


5.) ASSORTED ARTIFICIAL FLOWERS, LEAVES, BERRIES and such
These are also a common find at any craft supply shop. Sometimes I find artificial wreaths & such, at thrift shops, that can be taken apart and used to decorate a wide range of projects.
These too can be used in a variety of ways. Berries for noses, mini pumpkin tops for hats, leaves for wings, capes or other such clothing, flower petals for hair, hats, scales, etc.
For this project, I used them to decorate the saucer.
6.) TWEEZERS
It’s always a good idea to have a set of tweezers on hand for projects like these, for placing small pieces, when glueing.
Especially when working with….


7.) HOT GLUE GUN
An indispensable tool for most arts & crafters.
Apart from being one of the quickest, easiest tools for this kind of project, remember, hot glue is HOT, and can burn enough to leave a heat blister, if it comes in contact with skin.
Be sure to use carefully, and only as instructed.
*Most glue-guns indicate a recommended user age of 8+ yrs old.

There are “low temperature” glue-gun options available for slightly younger kids (6+ yrs. old) and klutzes, like me. With both options, supervision is still recommended for children 10 & younger.
Kids 6 & younger generally make better “artistic directors”. When crafting with younger kids, let them be in charge of the fun stuff, like what to make, picking out the different colors, pom-poms, jewels, googly eyes, etc., while you just stick to the glueing (no pun intended).
TIPS & OTHER INFORMATION

- Check to make sure your glue gun is fully heated, and the glue is melting & dispensing easily, before beginning.
- When not actively handling, be sure to keep your glue-gun set safely aside, securely & upright on it’s stand, with something underneath to catch any glue drips, as it sits. Unplug immediately, when no longer in use.
- If indeed you are a klutz like me, I recommend wearing some kind of non-meltable, protective gloves that aren’t too clumsy to work with, safety glasses, use tweezers for placing the small stuff, and keeping a damp rag handy for quick clean-up.
- Hot glue starts drying in seconds, so have a plan, be prepared, & be ready to keep up during assembly, while working as clean and safe as possible.
- Assemble anything with more detail, like faces, arms, legs, costumes, etc., separately, as opposed to assembling your pom-pom creations, from the ground up. That way, if something goofs up along the way, you don’t lose the rest of your finished work, and have to start over, from scratch.
- Their weight & flat bottomed surface make the assorted gems perfect for feet, to help your Pom-Pom Pixie to stand upright. In this way, it works best to now attach your pre-assembled parts, from the ground up. But before glueing the torso to your pre-assembled feet & legs, place everything according to how you want its posture & positioning to be, to determine the best place to apply hot-glue, when connecting parts.
- Don’t feed Pom-Pom Pixies after midnight….

0 comments on “Critter Crafts!!…or “Crafty Critters”?”